
In this step-by-step tutorial, learn how to upgrade your Windows 10 PC to Windows 11, whether or not your system meets the minimum system requirements. First, we check whether your PC is compatible using the PC health check app. Next, we look at a few options for backing up your PC before updating to Windows 11. Finally, we look at how to upgrade to Windows 11 using the control panel as well as how to upgrade using the installation assistant, installation media, and ISOs. By the end of this video, you’ll know how to upgrade to Windows 11 on your laptop or desktop.
- Steps to check if your computer can run Windows 11
- Visit the PC Health Check site.
- Click “Download PC Health Check App” and Accept the license terms and install the app.
- Open the PC Health Check App.
- Click the Check Now button to see if your computer meets the minimum requirements.
- Verify if your computer meets the minimum requirements.

- Steps to install Windows 11
- Click the Windows Start Menu.
- Select “Windows Settings” and choose the “Update and Security” option.
- See the Windows 11 update banner at the top of the menu.
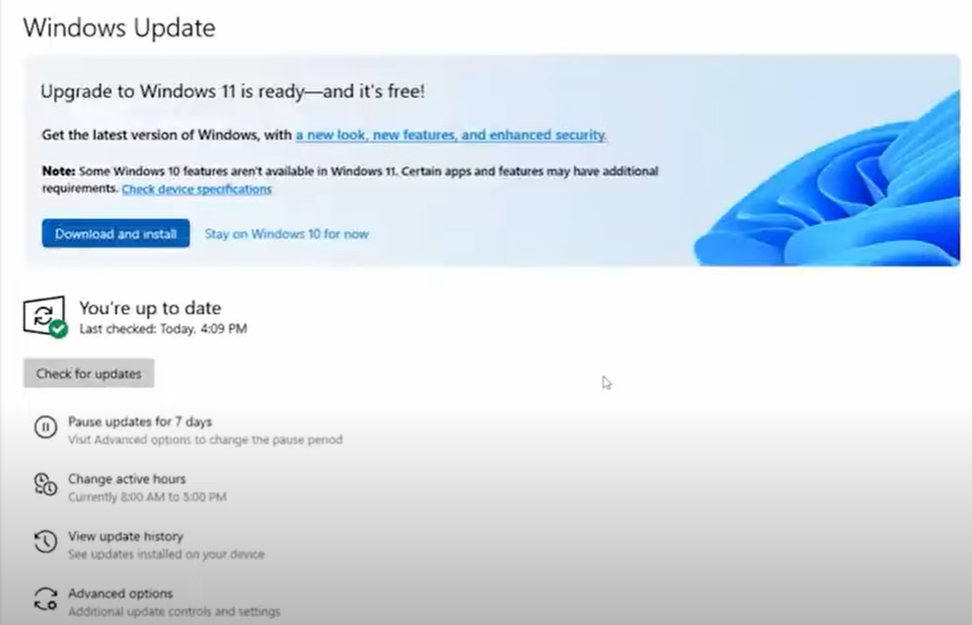
- Select the “Download and Install” button.
- Accept the Software License Terms.
- Your computer will take some time and install Windows 11. You may need to reboot your device.
- Additional resources
- Timestamps

A recent update for Windows 11 removed the Documents folder from This PC. How do I recover it so that My PC and OneDrive have the same content? I found no solution on help.Microsoft.com. Thank you.
LikeLike